


Verifying the Installation: How to Ensure Kubernetes is Running Smoothly on Ubuntu
Kubernetes is open-source software designed to address challenges related to automating container-based applications. It functions as a container orchestration system, distributing tasks that need to be performed during software testing. Kubernetes is inherently portable, which contributes to its widespread adoption around the world. Essentially, it facilitates the deployment of new software builds, but certain requirements must be met in the process. Software testers are responsible for this work, but deploying software can be quite complex. To assist with this, testers utilize Kubernetes, which breaks the software down into smaller components, making the testing of these simpler pieces much more manageable. This approach streamlines the overall process.
Kubernetes offers a wide range of features
- making it applicable for different areas of software development. It aids in software configuration and automates many tasks.
- The dependencies associated with Kubernetes are very helpful. Moreover, tools such as transporters and services are provided to lessen the burden of software deployment.
To install Kubernetes on Linux
We first need to set up some prerequisites. These installations should be completed alongside the Kubernetes installation, as they are essential for its configuration.
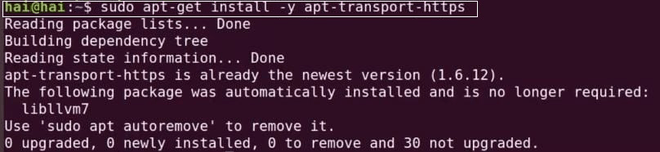
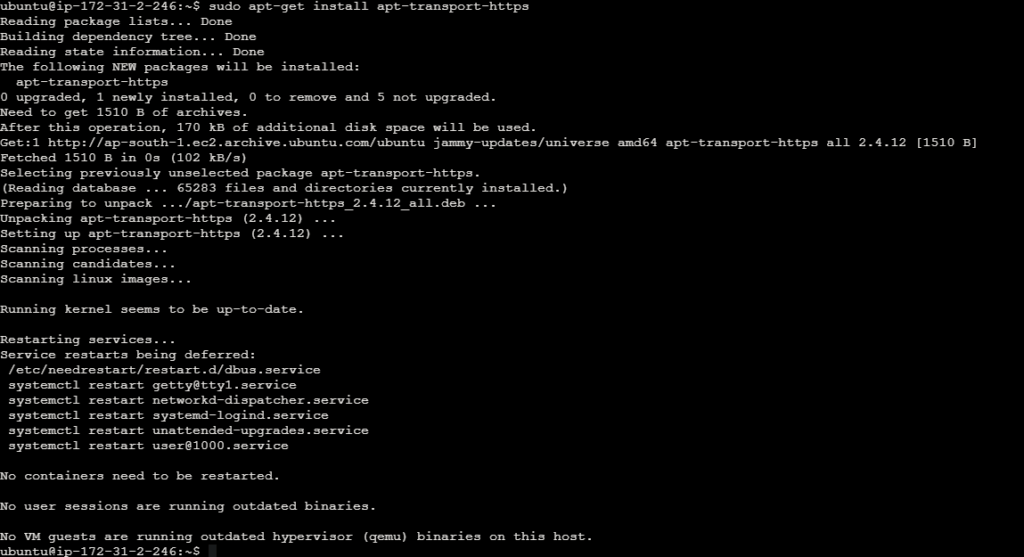
- To start, we need to open the terminal on Linux. After that, we will type in the following command. This step is necessary to install a transporter, which is required for installing Kubernetes on the machine. Wait for the process to complete.
sudo apt-get install -y apt-transport-https
Set up Docker
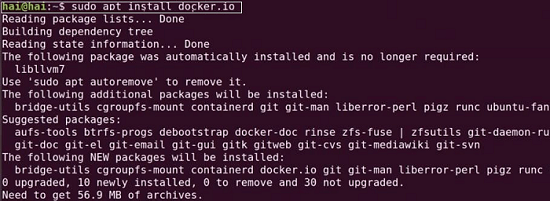
- Now, let’s install Docker. This is essential for working with Kubernetes. If Docker was already installed on your machine, the following command will be skipped without any issues. However, if Docker is not installed, the process will take some time to complete.
sudo apt install docker.io
- Once Docker is successfully installed on the machine, the next step is to start and enable it. Without doing this, we won’t have permission to install Kubernetes. We need to execute the two commands below.
sudo systemctl start docker
sudo systemctl enable docker

If Docker is installed on your machine, you can skip Steps 2 and 3. Running those steps won’t cause any critical issues with the installation, but it’s advisable to avoid them if Docker is already present.
Now that Docker is up and running, it’s time to install Curl on Linux. Curl is essential for managing various dependencies with Kubernetes. To install Curl on your machine, simply run the following command and wait for the installation to finish.
sudo apt-get install curl
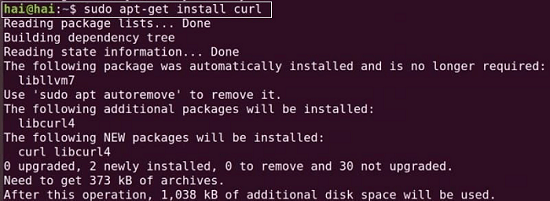
Some users might think that installing Curl alongside Kubernetes is unnecessary. However, it is actually quite important. While the installation of Kubernetes can be completed without Curl, users may encounter issues later on. Curl plays a crucial role in automatically updating Kubernetes. Without it, Kubernetes won’t be able to update to the latest version, which can lead to gradual malfunctions over time.
Install Kubernetes
Install Kubernetes Tools
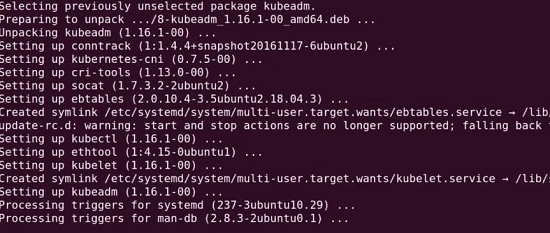
- It’s time to install Kubernetes. Essentially, Kubernetes is made up of four key components: Kubelet, Kubeadm, Kubectl, and Kubernetes. These components are built on a variety of other dependencies. To proceed, we need to install these main components. We can do this by running the command provided below, which will help us install the necessary dependencies.
sudo apt-get install -y kubelet kubeadm kubectl kubernetes-cni

- We need to wait a bit since installing Kubernetes will take some time. The duration may vary based on the machine’s speed and configuration.
Initialize Kubernetes on Master Node
- We have successfully installed Kubernetes and configured its essential components. Now, it’s time to set up and start Kubernetes on the machine. To do this, we need to run the following command, which will initialize Kubernetes. Please wait until the process is complete
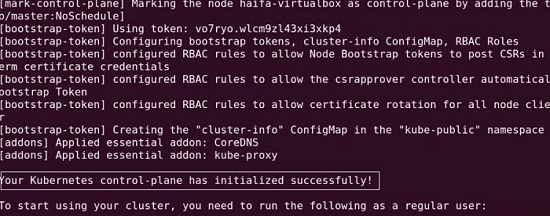
sudo kubeadm init
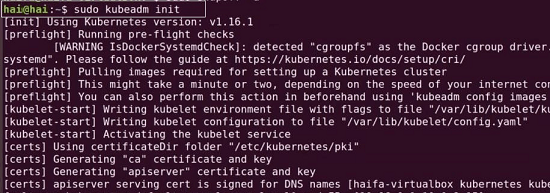
- Once the process is finished, a message will appear indicating that the Control Panel of Kubernetes has been initialized. This means that Kubernetes is now operational, and the installation and configuration have been successfully completed.
Setting Up Kubernetes on Minikube: A Step-by-Step Guide for Ubuntu Users
Step 1: Update System and Install Required Packages
Ensure your system is up to date and update, upgrade the packages using the below commands. Refer the below images for your reference.
sudo apt-get update -y
sudo apt-get upgrade -y


Ensure your system is required necessary packages and download the necessary packages using the below commands. Refer the below images for your reference to install the necessary packaged.
sudo apt-get install curl
sudo apt-get install apt-transport-https

Step 2: Install VirtualBox Hypervisor
Install the VirtualBox hypervisor, required for running Minikube. Here is the command to download the virtual box in the machine.
sudo apt install virtualbox virtualbox-ext-pack
- sudo: This command stands for “superuser do” and is used to execute commands with elevated privileges. It allows regular users to perform administrative tasks.
- apt: This is the package manager for Debian-based Linux distributions like Ubuntu. It is used to install, remove, and manage software packages.
- install: This is the action that apt will perform. It tells apt to install the specified packages.
- virtualbox: This is the name of the package to be installed. VirtualBox is a powerful, cross-platform virtualization software that allows you to create and run virtual machines on your computer.
- virtualbox-ext-pack: This is an optional package that contains additional features and extensions for VirtualBox, such as support for USB 2.0 and 3.0 devices, VirtualBox Remote Desktop Protocol (VRDP) support, and more.

Step 3: Install Minikube
Download and install Minikube, a tool for running Kubernetes clusters locally. We need to install the minikube later steps here is the image for your reference.
wget https://storage.googleapis.com/minikube/releases/latest/minikube-linux-amd64
This command uses wget, a command-line utility for downloading files from the internet, to fetch the latest Minikube binary specifically built for Linux with the AMD64 architecture. The URL https://storage.googleapis.com/minikube/releases/latest/minikube-linux-amd64 points to the latest Minikube release hosted on Google Cloud Storage. Once downloaded, this binary can be executed to install Minikube on a Linux system with an AMD64 processor architecture.

Copy the minikube file into /usr/local/bin. Below are the commands to copy the minikube and provide the sufficient permissions to the minikube file.
sudo cp minikube-linux-amd64 /usr/local/bin/minikube
sudo chmod 755 /usr/local/bin/minikube

Check the minikube version. Here is the command to check the minikube version. Refer the below image for your reference.
minikube version

Step 4: Install Kubectl
Install Kubectl, the command-line tool for interacting with Kubernetes clusters:
curl -LO https://storage.googleapis.com/kubernetes-release/release/`curl -s https://storage.googleapis.com/kubernetes-release/release/stable.txt`/bin/linux/amd64/kubectl
curl -s https://storage.googleapis.com/kubernetes-release/release/stable.txt: This innercurlcommand retrieves the latest stable version of Kubernetes from Google Cloud Storage by querying the stable.txt file, which contains the version number.- “: This part of the command is enclosed in backticks, which allows the output of the inner
curlcommand (i.e., the Kubernetes version number) to be used as input for the outercurlcommand. curl -LO: This part of the command initiates a newcurlrequest to download thekubectlbinary.-Loption tellscurlto follow any redirects.-Ooption instructscurlto save the downloaded file with the same name as the remote file.
https://storage.googleapis.com/kubernetes-release/release/<version>/bin/linux/amd64/kubectl: This is the URL where thekubectlbinary for Linux on AMD64 architecture is located. The<version>placeholder is replaced with the Kubernetes version obtained from the innercurlcommand.

Move the kubectl file into /usr/local/bin for instalation.
chmod +x ./kubectl
sudo mv ./kubectl /usr/local/bin/kubectl

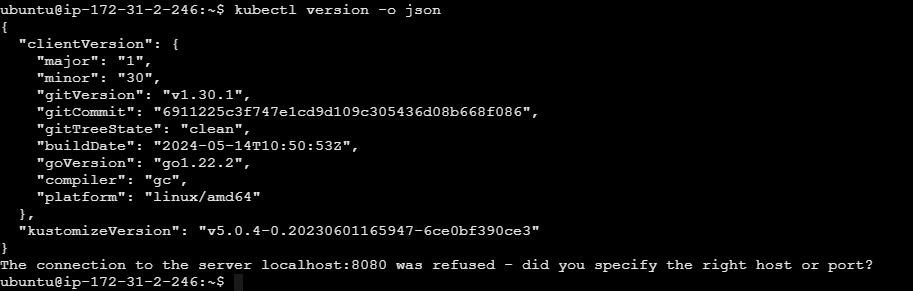
Check the kubectl version in the json mode.
kubectl version -o json
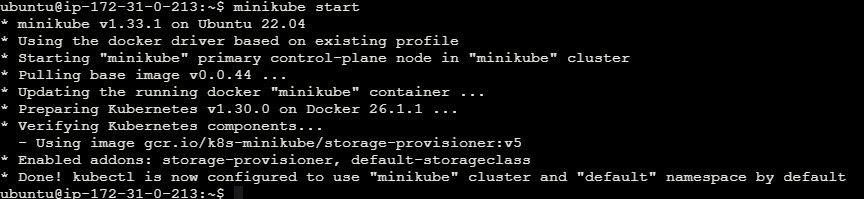
Step 5: Start Minikube
Start Minikube to create and manage Kubernetes clusters locally.
minikube start
Managing Kubernetes with Minikube
Here are some common commands to manage your Minikube Kubernetes cluster:
Common Minikube Commands
View Kubernetes configuration of the minikube cluster.
kubectl config view

Access Minikube Dashboard
View cluster information by using the below command.
kubectl cluster-info

View nodes in the cluster of the minikube.
kubectl get nodes

View pods in the cluster of the minikube.
kubectl get pod

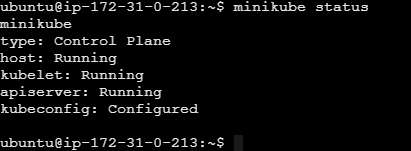
Check Minikube status on the minikube cluster.
minikube status
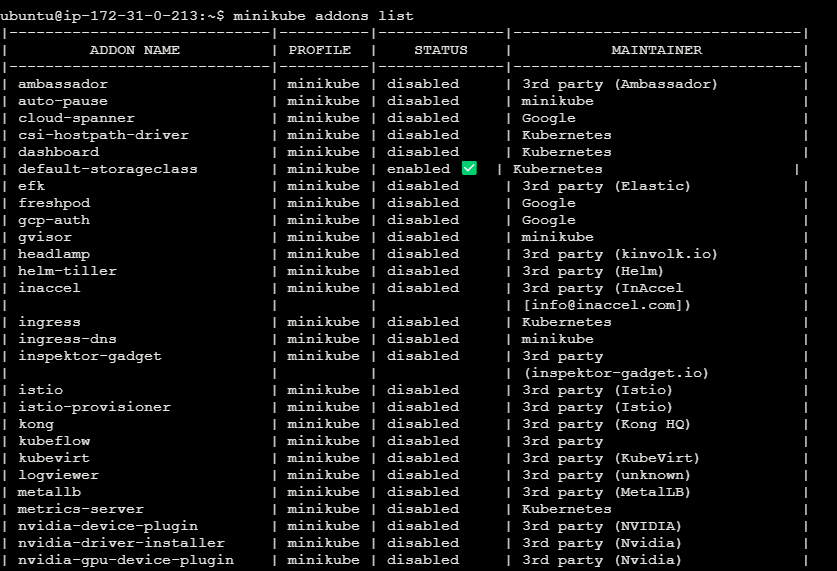
List Minikube addons by using the below command.
minikube addons list
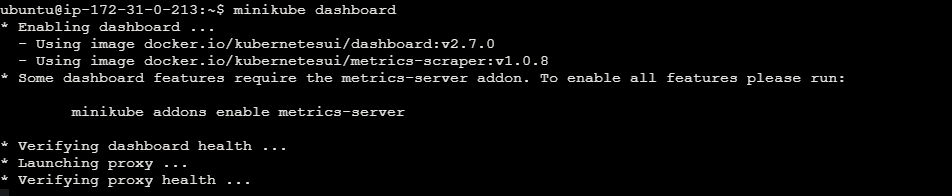
Access Minikube Dashboard of the minikube cluster.
minikube dashboard
Access Minikube Dashboard URL. For your reference refer the below image.
minikube dashboard --url

Install and Configure Kubernetes on Ubuntu – FAQs
How to install and configure Kubernetes on Ubuntu?
“Install Kubernetes on Ubuntu using Minikube for local development and testing, then configure it with simple commands for container orchestration.”
How to install and configure Kubernetes and Docker on Ubuntu 18.04 LTS?
“Install Docker and Kubernetes on Ubuntu 18.04 LTS by following official documentation and configuring them for container orchestration.”
How to install Kubernetes 1.29 on Ubuntu?
“Install Kubernetes 1.29 on Ubuntu by following the official Kubernetes documentation or using a package manager like kubeadm.”
How to start Kubernetes service in Ubuntu?
To start the Kubernetes service in Ubuntu, run the command:
sudo systemctl start kubelet.service.
How to configure Kubernetes with docker?
“Configure Kubernetes with Docker by installing Kubernetes components and configuring Docker as the container runtime.”